How to Make a DIY LED Wedding Neon Sign? Download the Free Guide
March 16, 2024
LED neon signs for weddings
In recent years, LED neon signs have become a favorite addition to wedding reception decor. They put a modern spin on traditional styling and add a special charm to the celebration, whether it’s day or night. A neon sign also lets you personalize your wedding a little further - the wording can be a simple declaration of your love, or something that reflects your personalities or the story of how you met.
So what makes neon signs so appealing? For one, they’re a natural eye-catcher, and the soft, diffused light they give off creates a really distinctive atmosphere. It’s fair to say neon signs are made for Instagram - they photograph beautifully. Plenty of couples even set up a mini photo session in front of theirs, since the glow gives the pictures a lovely, dreamy quality. It’s no surprise neon has become a fixture of wedding decor. You could even think of a neon sign as a genuinely budget-friendly wedding attraction as much as a decoration.

One way to have a neon sign at your wedding is simply to rent one, whether from your venue or an outside company. In this guide, though, we’re focusing on a different option: building one yourself at home. It’s a fun way to spend time with your other half on a creative project together. Whether you’re a seasoned DIYer or a complete beginner, this guide aims to give you the knowledge, inspiration, and hands-on skills you need to build your very own neon sign.
What you need to make a DIY LED neon sign
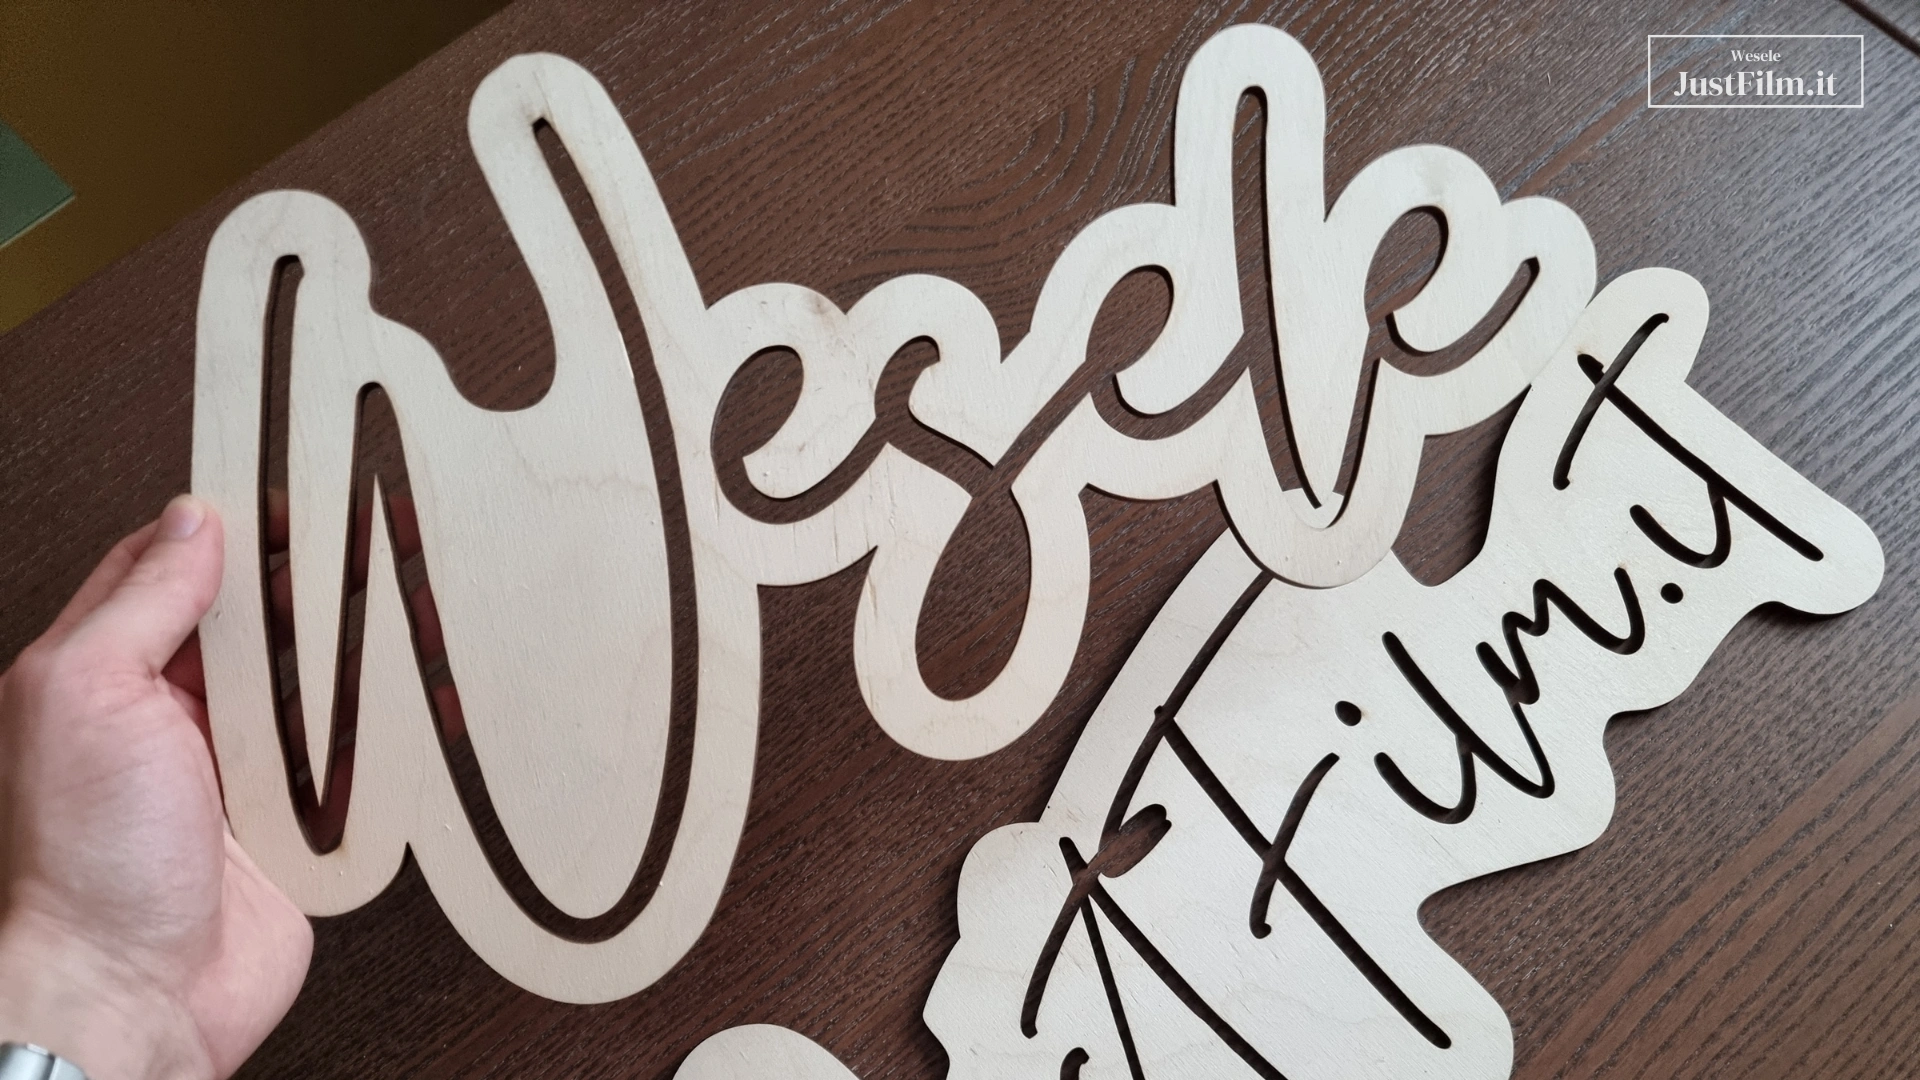
Building a neon sign starts with the base you’ll attach the LED strip to. First, decide how big you want the sign to be - the larger it is, the higher the cost and the heavier the finished piece will be. The simplest approach is to grab a tape measure and get a real sense of the size before you commit.
You have several options for the base material: thin plywood (which you can also paint any color, spray paint works great), clear plexiglass, or even metal mesh. You’ll find all of these at any hardware store.
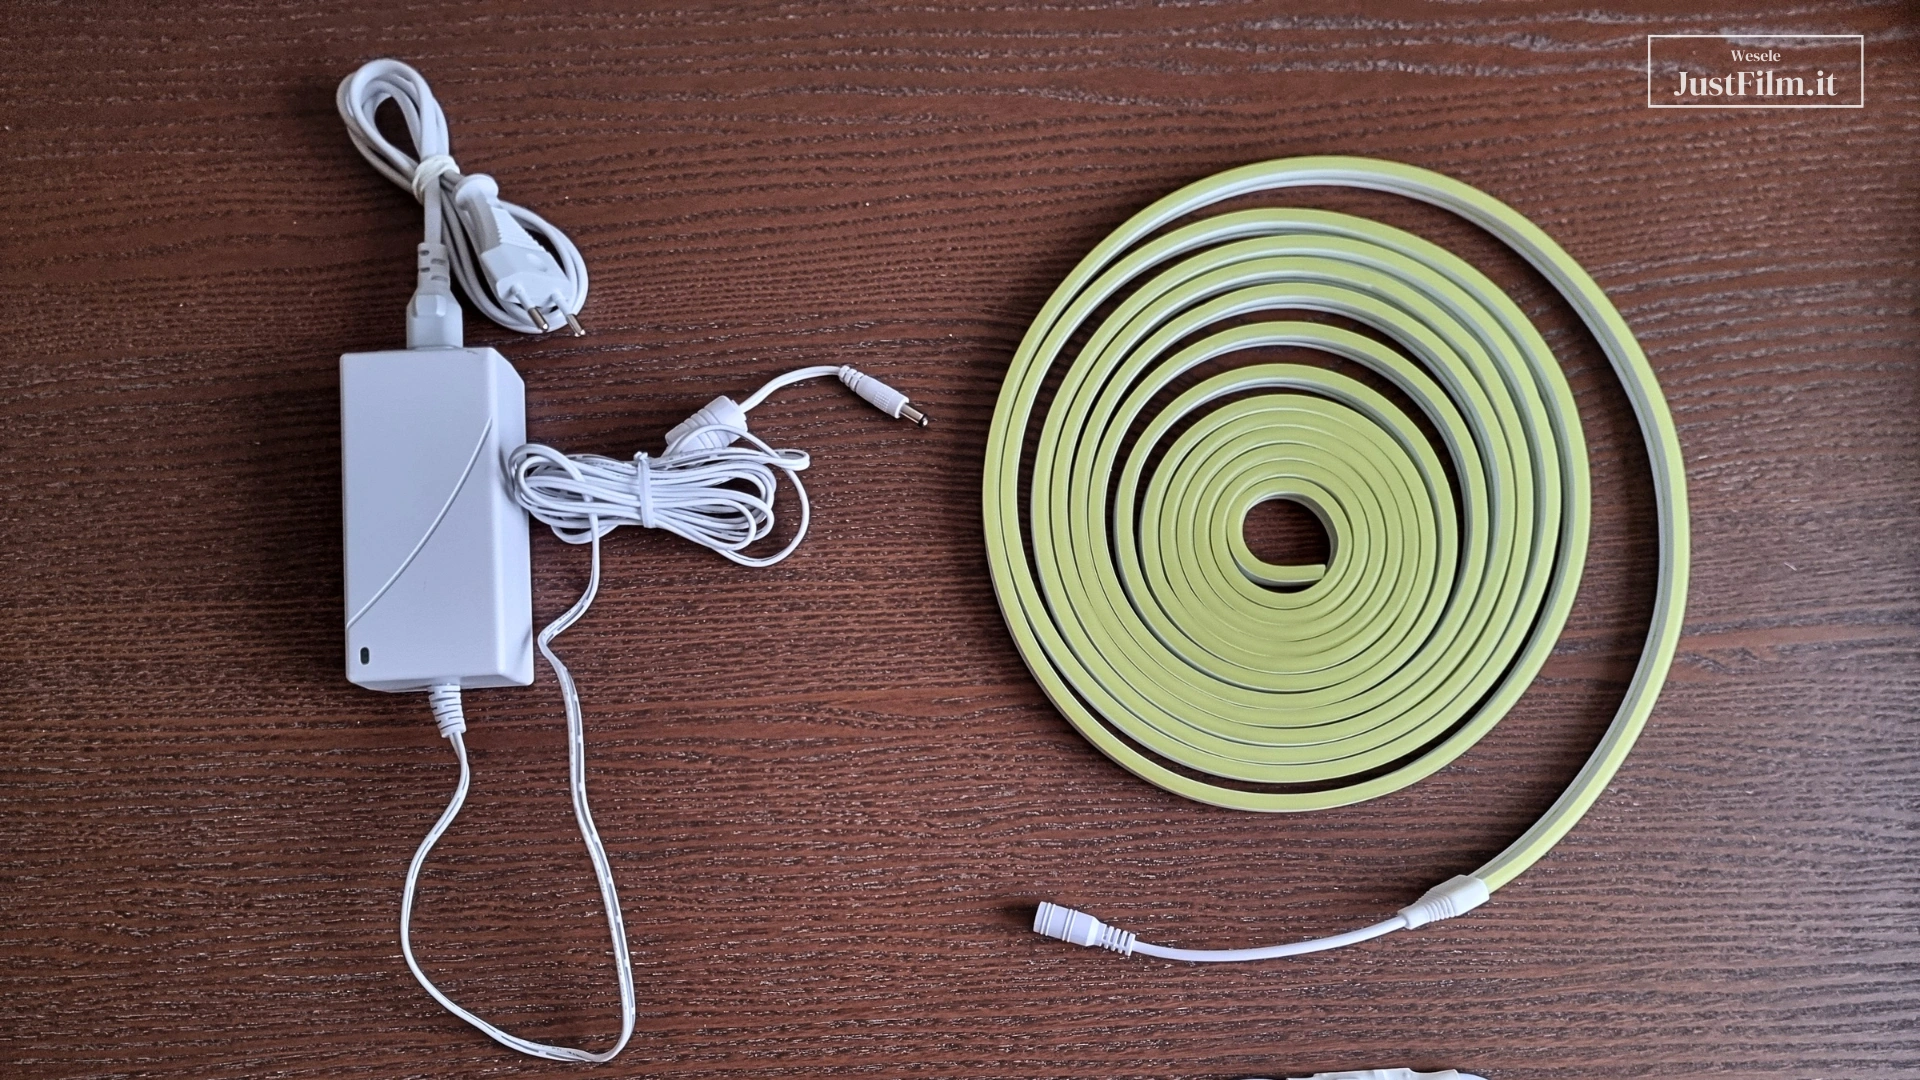
The star of the show is the LED strip itself. You’ll find it online in all kinds of configurations - different sizes, colors, and control options. We went with a yellow strip (you’ll find a link to it in the “Shopping list” section of the downloadable guide).
You’ll also need the right accessories to go with the strip, like a power supply and a controller. Buying a complete ready-made kit is an easy way to avoid worrying about whether individual parts will be compatible, and it’s what we’d recommend if this is your first build. Depending on the kit, you can control the sign with a simple switch or even a remote that lets you adjust brightness and color, not just turn it on and off.
Here are the key items you’ll need for the build:
| Item | Where to buy | Price |
|---|---|---|
| Plywood / Plexiglass | Hardware store | ~ €15 (depending on the size of the sign) |
| LED strip + electronics | Easiest to order online | ~ €25 (for the full set, depending on features, colors, and length) |
| Glue / double-sided tape | Hardware store | ~ €2.50 |
| (Advanced build) Soldering iron, solder, wires, material for laser cutting | Online | (Optional) Up to around €200, depending on what you need |
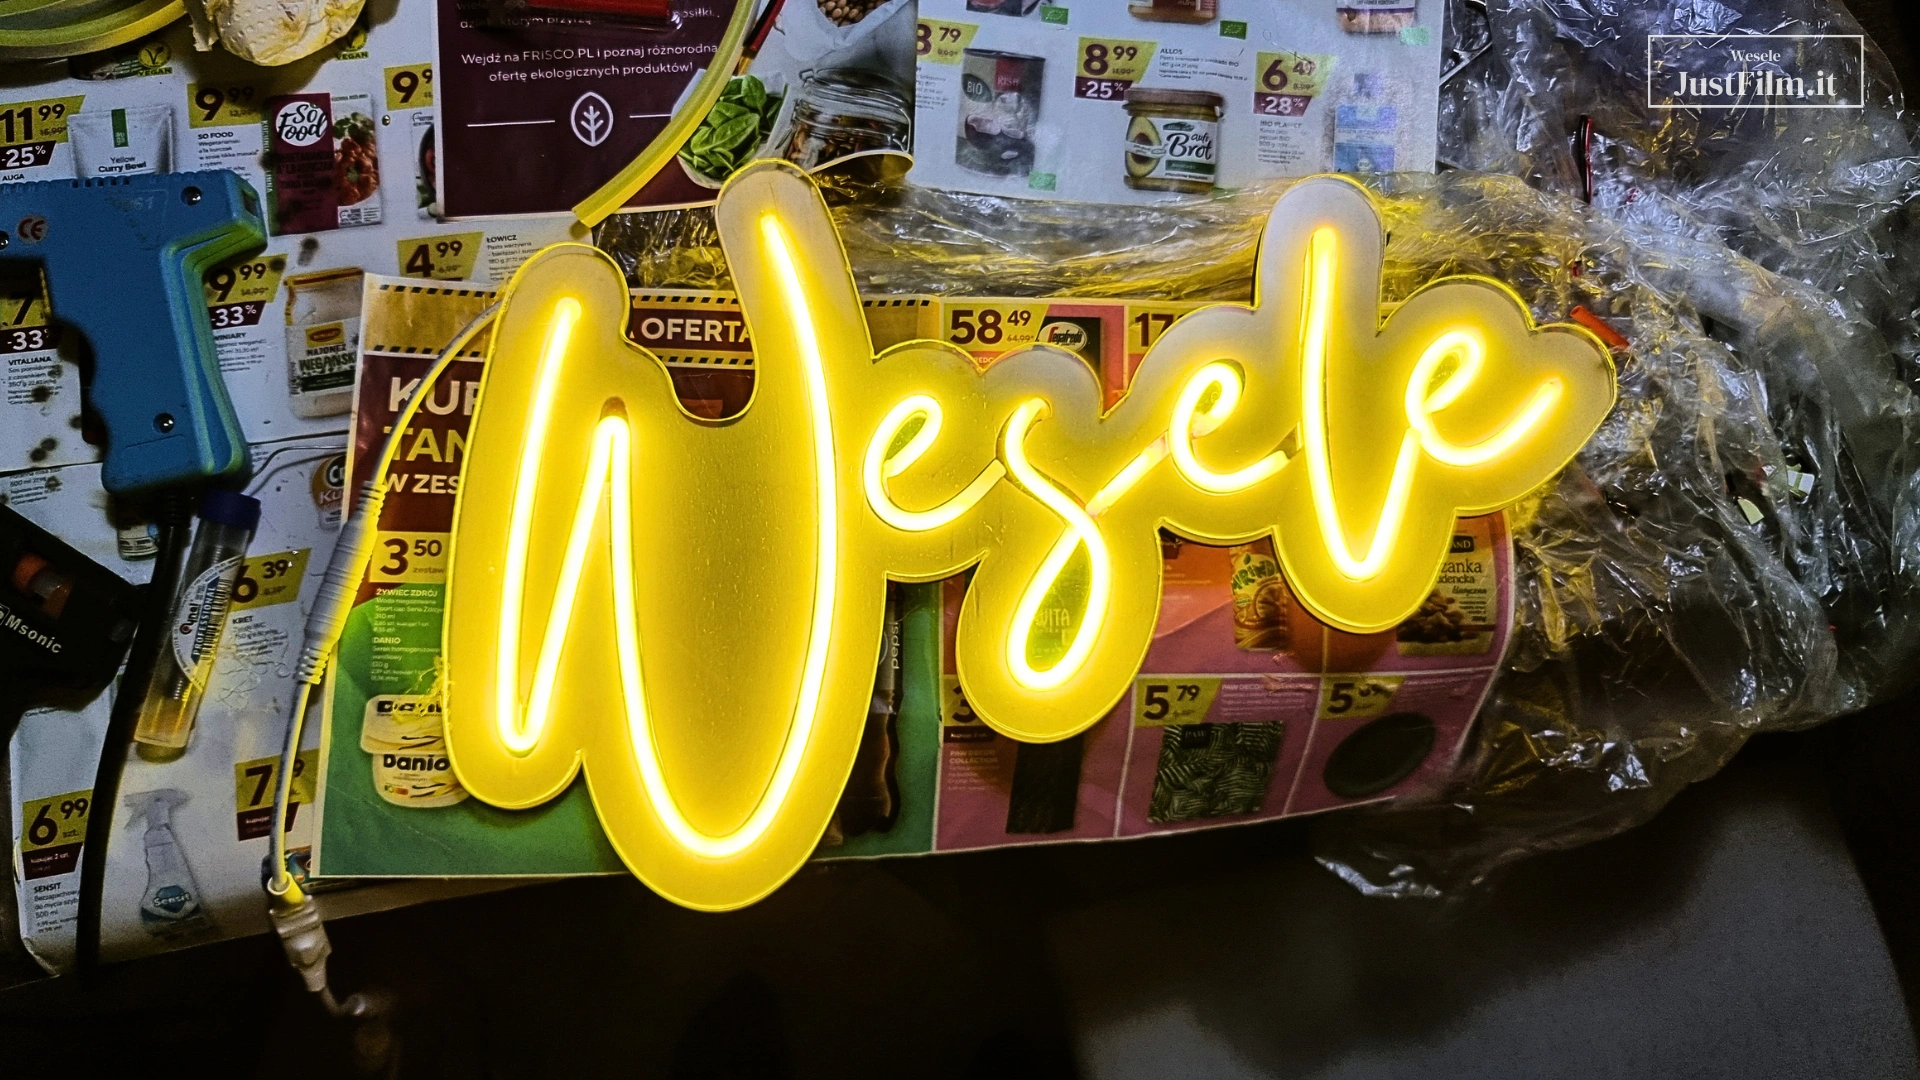
How to make your own LED neon sign for a wedding
Everything starts with the concept for your sign. Think about what wording you’d like it to say - a universal phrase like “Together Forever,” or something more personal that fits you and your story. You can, of course, look for inspiration online, on Pinterest or Instagram, for instance - we’ve included a few of our own ideas alongside this section too.
Once you’ve settled on your wording, you can move on to designing how it will look. There’s more than one way to approach this. You could sketch the lettering by hand and use that as your template, or - our preferred method - find a font that mimics handwriting. Gistesy is a nice option: pull it up in any text editor and use it to plan out your design. If you’re hunting for more fonts to choose from, dafont.com and fonts.google.com are great places to start.
You’ll find the complete step-by-step guide available to download below.
Najczęściej zadawane pytania
How much does it cost to make a wedding neon sign yourself?
How do I make a DIY LED neon sign for a wedding?
What should I use for the base of an LED neon sign?
What wording should I choose for a wedding neon sign?
Is it better to rent a neon sign or make one yourself?
Download our wedding neon sign guide
We’ve put together a detailed guide on how to build your own LED wedding neon sign with any wording you like. We went through every stage ourselves, built our own neon sign from scratch, and then wrote up the whole process in a simple, easy-to-follow guide. We’ll walk you through the build step by step, list out everything you’ll need in tools and materials, and flag the details worth watching out for so you can avoid common mistakes along the way. We’ve paid special attention to keeping the build simple - inside, you’ll even find a streamlined version that needs almost no tools at all. You can download the guide completely free by clicking the link below:
🔗 Click here to get our guide to building your own wedding neon sign in polish